Options from Americraft
Our designs make it easy to install an industrial roof exhauster. Americraft manufactures several types of roof fans in both direct- and belt-driven models. Our most popular belt-driven roof exhauster is the BRV8 and the direct-drive version is the AM. Our model 1900 is offered in belt- or direct-drive and can be constructed for exhaust or intake air, or reversible airflow. For applications where the motor needs to be outside of the airstream, you could consider our model BRV or BRVCS roof exhausters.
To help you select the right sized fan(s) for your facility, view our post here to calculate how much CFM is required, depending upon the number of air changes per hour recommended for your type of facility.
Our roof exhausters are designed with an integrated curb cap for installation on top of a roof curb. Roof curbs can be purchased from Americraft as an accessory item. We offer roof curbs for flat and sloped roofs up to a pitch of 6″ in 12″. We DO NOT recommend using our roof curbs for a standing seam or corrugated roof, which will require a custom curb.
Another accessory option is a factory-mounted disconnect switch to safely and easily disconnect power from the fan. You can see the full list of accessories for our industrial roof exhausters here.
Install an industrial roof exhauster
The following steps are intended to provide you with general guidelines when installing a roof exhauster. We recommend that you hire a professional roofer or sheet metal contractor to complete the installation.
- Install roof curb following the manufacturer’s instructions. A standard roof curb is 8″ tall, but taller curbs are available upon request.
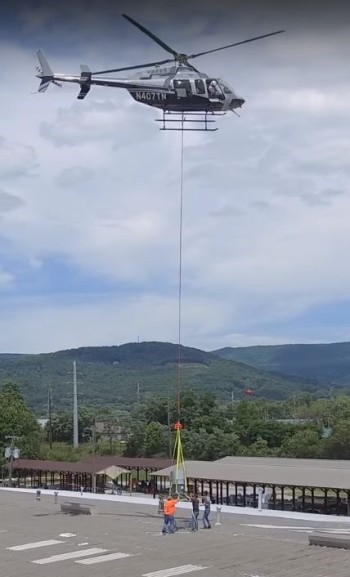
- Using the lifting lugs, position the roof exhauster over the roof curb. Secure the curb cap to the roof curb using a minimum of (8) lag screws. anchor bolts, or other suitable fasteners (not supplied).
- Caution: Do NOT raise the fan by its wind band, pulleys, or motor.
- Caulk or seal the the gap between the roof curb and curb cap to prevent leakage.
- Before connecting the fan motor to the power supply, verify the power line wiring is de-energized.
- Make sure your electric service is compatible with the amp/voltage requirements of the motor.
- Connect power supply wiring to fan motor following the wiring diagram on motor nameplate.
- Before energizing, manually check the propeller for ease of rotation.
- Check all fasteners for tightness before energizing fan.
Other things to consider
- The fan should not open above any beams in the ceiling, this could restrict airflow.
- On the AM and BRV8, the drive portion of the fan could hang below the roof line, depending on how it is installed. Be sure to check the dimensions of your fan before installation.
Feel free to contact us if you have any questions.


